
1. How to create a board
Has someone you know got a special occassion coming up? Here's how to create a personalised message board just for them.
There are several buttons around the site that invite you to Create Message Board. They can always be found top right or within the footer links.
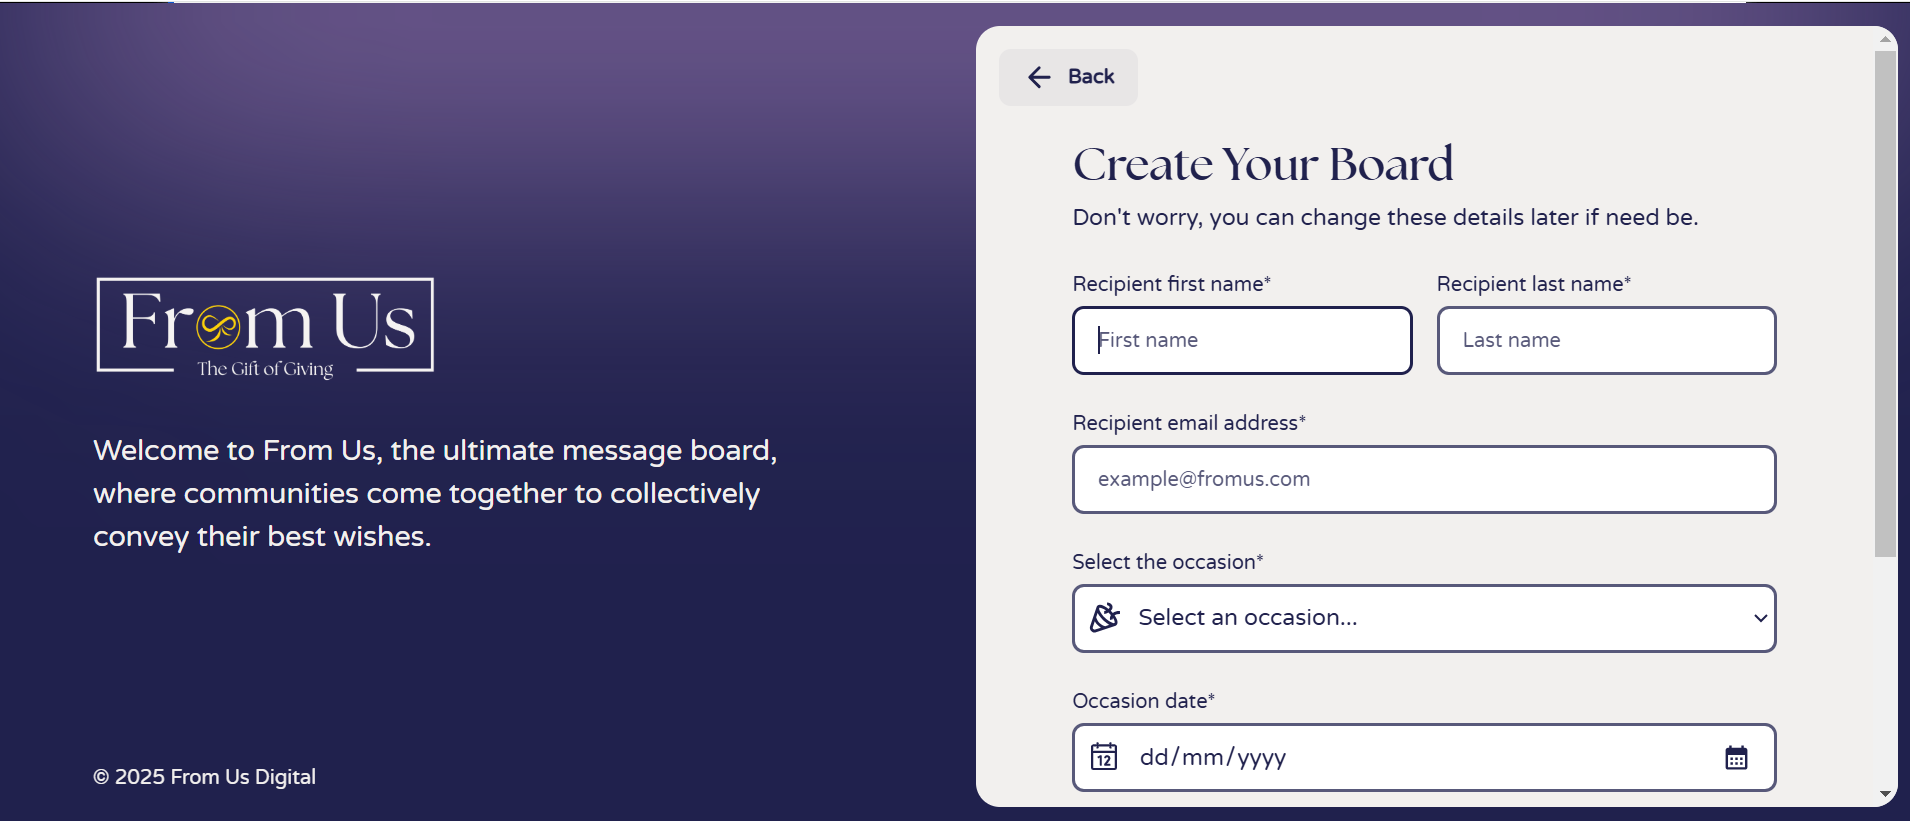
After clicking ‘Create,’ you’ll be asked to provide a few key details: the recipient’s name, email address, the occasion, its date, and your chosen board title.
Please note—once you click ‘Next,’ the recipient’s name and email can’t be changed without contacting From Us, so be sure you have the correct information ready.
The occasion date is simply a reference point for you and your contributors—it does not trigger the board’s delivery. That will be done manually by you, the Guardian, when the time is right.
You’ll then be asked how many people you expect to contribute. Depending on your subscription level, you may have the option to upgrade or add a ‘bolt-on’ for additional contributors. Don’t worry if you’re unsure—you can always adjust this later, or simply skip the step for now.
Finally, you’ll be asked to confirm the recipient’s location. This determines whether we need to ask a few extra questions related to the From Us E-Boutique. Just remember: it’s the recipient’s region, not yours as Guardian
Once you’ve completed those initial details, your board will be created.
Congratulations—it’s time to personalise it.
Begin by adding your own contribution using the ‘Quick Contribute’ button at the top of your screen.
Here, you can update your display name—ideal if you’re affectionately known by another name or posting on someone else’s behalf. As Guardian, you can add multiple contributions, depending on your subscription. This is especially helpful if you're uploading messages for others, such as in an admin support role.
Now, craft your personal message. Set the tone thoughtfully—early contributions often influence the style and sentiment of those that follow.
Next, select a photo or GIF to accompany your message, adjusting the position if needed.
If you're on a paid subscription, you and your contributors can add up to five photos or even a video to enhance your message
Now it’s time to personalise the board itself.
You can edit the title and add an overall message—just be sure to click ‘Save’ once you’re done.
Next, choose your preferred layout to control how the posts scroll across the screen. Again, don’t forget to save your selected style.
You’ll also be able to select a background image. To adjust its position, simply click the corresponding dot within the diamond guide.
At any point, you can preview how the board will appear to your recipient by pressing ‘Play’ at the top of the screen
Congratulations, you have created your ultimate message board, to bring your community together to convey their best wishes.
Learn the next step of how to invite contributors in our follow up video in this series.